Tutorials | Adding Film Grain
For all you mono-ists out there, this is a nice 'n simple method of adding film grain to your images in a non-destructive manner.
Those that can't be bothered to follow the instructions, I've created an action linked at the end of this tutorial.

Create a new layer above your image.
You might as well name it too.
Also, if you like, you can set the Blend Mode to Overlay. Doing this now will let you preview the effects of steps 4 & 5.

Fill the layer with 50% grey. The easiest way is to press shift+backspace and the following dialogue is shown.
Make sure the Contents drop down is set to 50% Grey
Alternatively you can simply fill the layer with the paint bucket and a colour sent to 50% grey.

Add noise to the layer. Filter | Noise | Add Noise
Set the amount to 400% and Distribution to Uniform

The noise looks a bit digital so we need to blur it. Filter | Blur | Gaussian Blur
Choose a value you like. If you set the Blend Mode of the layer to Overlay in step 1 then you should be able to see the effect of the blurring.
Around 1.7 pixels seems to do it for me.
Be aware, the blur will probably depend on the resolution of the original image. At the time of writing, I'm working on 6MP images.

If you haven't done so in step 1, set the blend mode of the film grain layer to Overlay.
It's likely the grain effect is rather strong, to reduce the strength, use the Opacity slider to lower the amount of effect.
Thats it! Easy peasy lemon squezy.

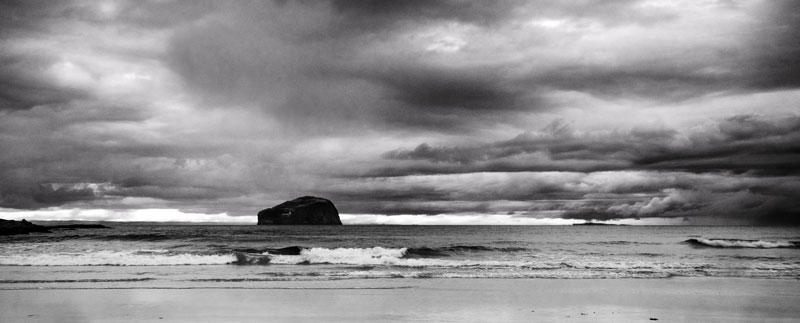
Bass Rock From Seacliff Beach - Before

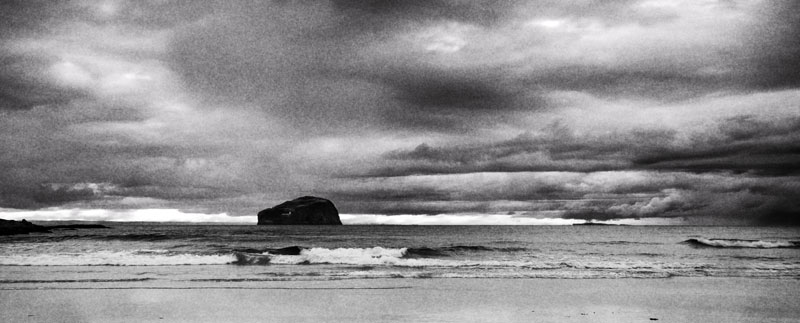
Bass Rock From Seacliff Beach - After
The action will ask you the amount of blur to add. It'll also set the layer opacity to 35%, adjust this as you see fit once it's finished running
Good luck, have fun.
Neil.


 (
(