Tutorials | Sharpening
As anyone who's dabbled semi-seriously in Photoshop can tell you, there's a different method of sharpening for each day of the year! This tutorial isn't trying to claim this is the best way to do it, the only way to do it, the quickest or easiest. I'm only here to tell you how I do it - assuming you're interested :)
To be honest I can't really say I gave sharpening too much thought. In my early days I did try a few techniques (Unsharp mask, High Pass Filter, Lab Mode) but after a while they all kind of fell by the wayside for me in favour of good old "Smart Sharpen" in Photoshop.
The only slightly noteworthy aspect of my sharpening is I do 2 passes - The main one, then a second after a resize prior to export to JPG.
RAW Processing
I use ACR to do my RAW processing and in there you have some sharpening options. I'm pretty sure my settings here are at the defaults.
The image below shows the Detail tab in ACR

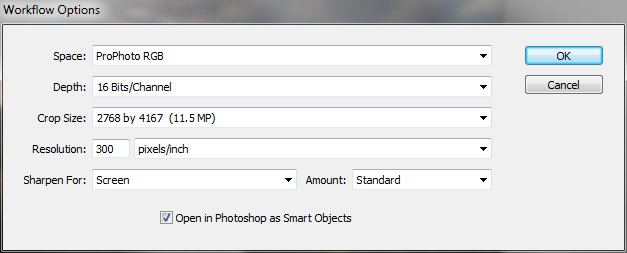
There is one other place in ACR which gives you some aspect of control in the sharpening and that's the work flow options. You can get to those by clicking the "link" at the bottom centre of the ACR window.

First Pass
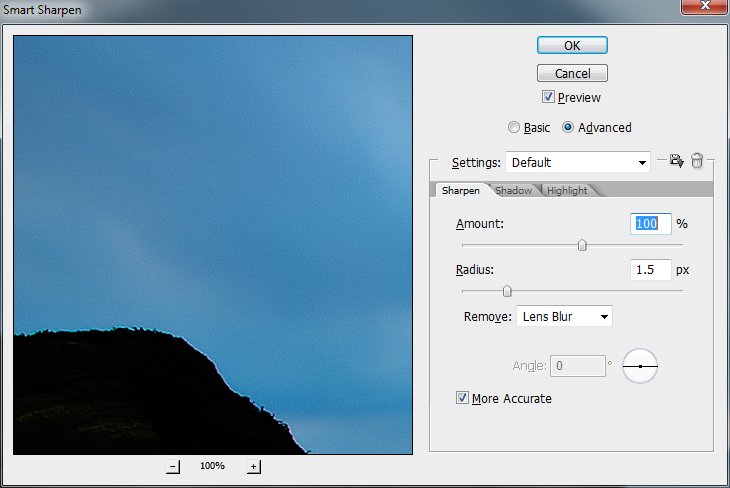
After I've done all my processing on an image, I do my main sharpening. This sharpening is targeted towards printing and DOES contain sharpening artefacts. (I've been told over-sharpening for printing is a good thing)

- Amount : 100%
- Radius : Varies (see below)
- Remove : Lens Blur
- More Accurate : Ticked
So the variable here is the Radius setting. It really depends on the image being worked on but I simply move it until I'm happy with how visible the sharpening artefacts are. Usually Radius is greater than 1px but less than 2px although very occasionally I will do more if the image seems particularly soft.
The next bit I do is to add a layer mask onto the sharpened layer and mask out everything that doesn't require sharpening. In my case - being a 'scaper - that'll be the sky and possibly the sea - depending on the shutter speed of the shot.
That's it for the first pass.
Second Pass
The next pass is only done when I export my image into JPG.
I have an action which does the following: -
- Flattens the image (I work in layers)
- Calls an image resize script (Resizer Lite) which gives me a 1500px image on the longest side. It also converts to the sRGB colour profile (I work in Pro Photo)
- Zooms to 100% (it's important to look at your image at 100% to check for artefacts)
- Triggers Smart Sharpen and waits for my input (see below)
- Saves as a JPG
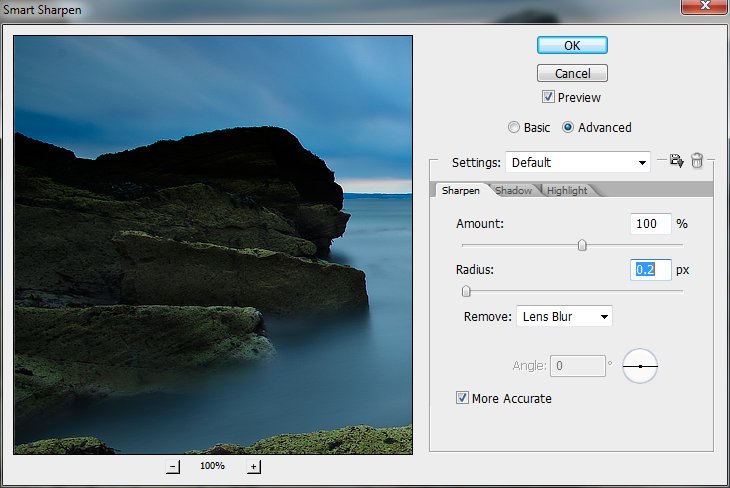
The Smart Sharpen settings for the second pass are as follows: -

- Amount : 100% (sometimes less)
- Radius : 0.3 px (often less)
- Remove : Lens Blur
- More Accurate : Ticked
Sometimes there is very little sharpening needed in the second pass and you can't set the radius less that 0.1px so in this case I simply lower the amount until the artefacts are better controlled.
Personally I suspect it's the second pass that's making my images look sharp.
Hope this helps
Neil.

