Shooting Diary | Yellowcraigs | 17th March 2012
Last updated on Monday, February 3, 2014
This time, Ross and I took a trip to Yellowcraigs just outside Dirleton in East Lothian. The plan was to get a nice seascape of Fidra. You know what they say about plans!
Shooting Location
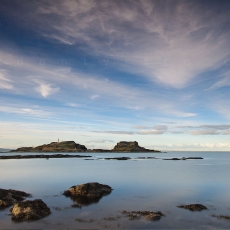
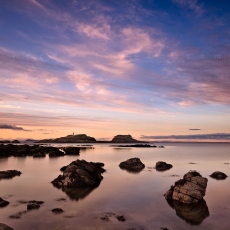
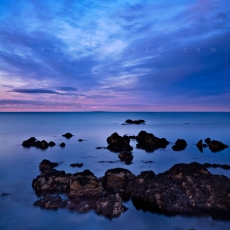
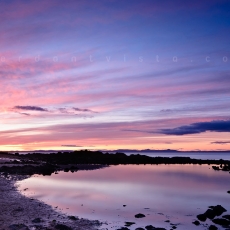
We had an absolutely stunning sunset but we where in a bad location. I'd managed to wobble my way across a boulder field trying to get as close as possible to the sea and Fidra. Unfortunately when we got there the foreground was quite cluttered so it's meant I had to do some heavy cropping when I got back home, hence a few panoramic crops. The square crops was also done to try to clean up some of the mess.
In hindsight I think we should have been higher up and more to our left for the sunset but the problem with that was Fidra would have been out of Frame. From our spot we where looking north instead of at worst, north west. Basically, location, angle, equipment, skill, foresight and the slightest glimmer of intelligence conspired to defeat me this time! :) This place is more a "deepest summer" location! So I look forward to a rematch!
It was a lovely night though. Quite warm after crossing the boulder field but with hardly any wind and the tide right out, the sea wasn't doing too much - safe even to turn your back on! There I said it!
Anyway, we were treated to an excellent display with the high clouds creating beautiful patterns across the sky. In some of the final shots, I didn't long expose the sky because I felt maybe the LE might ruin those patterns.
I image averaged all evening and it has a bonus which is that the technique lets you can choose, after you've done your long exposure, whether or not to use one of the frames for the sky alone - I.E. mixing long and short exposures. I did this in a few of the final images.
Shoot To The Right
One of the things I specifically wanted to do tonight was to try to properly "shoot to the right".
I took my test shots so I got the histogram how it's recommended then image averaged (did long exposures) all evening. I'm not sure if you're supposed to check the histogram regularly and make changes to the E.V. accordingly but I didn't pay that much attention. There was one I remember where the histo' is not far enough to the right but it was a very contrasty scene.
Reflecting Yellowcraigs
As the sun was setting, behind us, I started to feel the pull and turned round towards the light. Ross meanwhile, headed off in a different direction muttering about dunes.
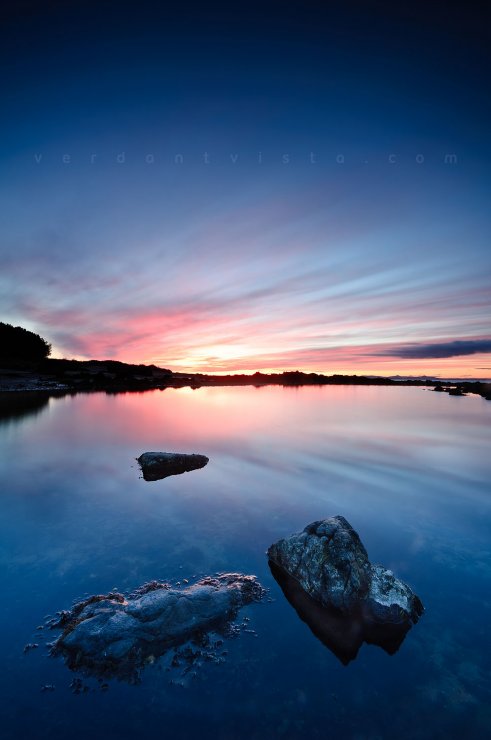
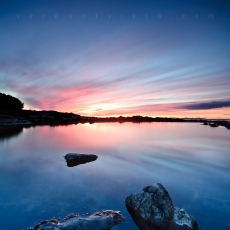
My favourite shot of the night is the background image you see here, "Reflecting Yellowcraigs". Just a pity it's "off topic" for the evening - i.e. no Fidra :) When I saw the pool and then the sunset in the water, then found a group of 3 rocks... bingo :)
Image Averaging
As for overall this trip, I stuck to an IA formula of getting around 3 minutes equivalent long exposure time made up of 15 frames with a variation between 10 and 15 second delays.
In hindsight, this created shark gills (or snake belly) in a few of the LE's so I definitely got the delay wrong. I should have cut this back to 5 seconds and did 20-25 frames instead. I could've / should've added more grad filters to slow the shutter speed and/or stop down to F/16. Both of which I'd have done - before trying to change the frame count and delay too much - note for next time :)
Given also a good delay is variable with the exposure time, and the case of seascapes - wind speed! It didn't feel too bad today so maybe I need shorter delays with slower wind and fast shutter speeds. Anyway, noted and I'll see what happens next time.
Processing
Processing for "Reflecting Yellowcraigs" was pretty much the usual for me.
It's an image averaged shot but with a slight twist. The foreground is image averaged as normal (i.e. a long exposure of 4 minutes) while the sky is a single frame from the image average set of 17. The 1st one if I remember correctly. The single frame is a 4 second exposure.
This gives a somewhat incongruous effect of long exposure water, normal exposure sky. Although I have to admit, in this example you might not have noticed. The clouds where not moving very fast and there was very little wind to disturb the water.
ACR
In ACR I didn't do too much to the image - I left the white balance "As Shot" - meaning Auto on my camera. The Nikon appears to have done it's usual cold tones which I really like!
For all 17 frames opened in ACR I targeted processing for the foreground. I did my usual "Select All" | "Auto Levels" then: -
- Moved the "Blacks" slider to the hard left (0)
- Added some "Fill Light" (26)
- Added "Vibrance" (24)
- Added "Clarity" (8)
With that done I then stacked and averaged the images.
For the sky, as I said, I took a single frame and undid my previous ACR settings for "Fill Light" and "Blacks".
Photoplop
In Photoshop I had a PSD with my image averaged result. I then opened the single frame for the sky and layered it above my image averaged result.
I then used my usual manual DRI blending technique to blend the sky frame and image averaged results together.
I had to remove quite a few dust bunnies - must... clean... sensor...
I also have to admit to cheating a bit. I visualised, composed and shot this to have 3 rocks in the foreground - unfortunately there was some seaweed just breaking the surface between the rocks that I found quite distracting so I cloned it out. There was also, more importantly, a 4th rock at the right hand edge of the frame - I didn't notice it when shooting - which I also cloned out.
Oh, and the halo at the centre left... it was like that! Wasn't me... honest.
EFX
The final bit of the post processing was a technique I learned years ago from a forum poster at pixalo.com (thanks Dave). This technique is really simple and lets you add a lot of punch (contrast and saturation) to your image with just a few clicks.
It's easy enough to do: -
- add a new layer,
- fill it with black
- switch the blend mode to overlay or soft light.
In this example, overlay was simply clipping to dark grey so instead I switched to "Soft Light" and reduced the opacity back to 49% to tone down the effect a bit.
Next I added a layer mask then painted in white where I wanted the effect to occur - basically across the middle of the frame where the sky is a riot of colour and a little bit on the water - again where there is some colour (other than blue)
After this was done, I sharpened and added my watermark!
Job done.
Best Chippy Ever
On the way home we stopped at the chipper hoose in Gullane. Man it was good. If you ever pass through there, grab one. Absolutely amazing chips :)
Here are the images from the trip.


